21 Best Gardening Tips For Beginners: Top Tips and Tricks for Success
21 Gardening Tips For Beginners: Top Tips and Tricks for Success
One of my biggest passions in gardening is to help beginner gardeners find success in the garden. Gardening can feel overwhelming sometimes, especially in the beginning. It helps to have some tips for success under your belt, to help you find your way.
For that reason, I thought it would be helpful to round up a list of gardening tips for beginners! Each of these tips will help you become a more successful gardener.
Don’t feel like you need to implement each tip right away. Print this list out and add it to your gardening journal, and slowly work your way through it. This list is a guide, meant to help you. Slowly work your way through it and refer back to it as you go. Before you know it, you’ll be sporting a green thumb or two!
So let’s get to the list. If you have any additional tips to add, share them with us in the comments!
21 Tips For Beginner Gardeners: Proven Methods For Gardening Success
1 – Know your garden zone and first and last frost dates. These are super important pieces of information to keep in mind as you plan out your garden!
Your first and last frost dates, which can be found here, are the average first day your area receives frost in the fall and the average last day it receives frost in the spring. Your growing season typically falls in between these two dates.
Most vegetable crops, such as peppers and tomatoes, are killed by frost. Knowing your frost dates helps you plan when it’s safe to plant frost-sensitive plants outside, and when they should be protected from frost or fully harvested in the fall.
Your garden zone, also known as your plant hardiness zone, is determined by the average coldest temperature your area will receive, and can be found here. Plants are labeled at gardening centers by garden zone, which is an indicator of how well a plant will tolerate your winter temperatures.
You want to choose perennials that have your garden zone or lower labeled on their tag. For example, I garden in a zone 6, so I can grow anything that is a zone 1-6. Anything labeled a zone 7 or above would be considered an annual in my area, because it most likely won’t survive my winters.
2 – Use compost. Compost is a powerhouse in the garden and has several benefits, including:
- Improving soil structure
- Feeding beneficial microorganisms
- Helping the soil retain nutrients and moisture
- Reducing soil erosion
- Reducing the need for pesticides and fertilizers
To use compost in your garden, spread a 1-inch layer on the surface of a new bed, including raised beds. Every spring and fall, apply a layer of compost around the drip line of perennial plants. Compost can also be added throughout the growing season, especially for vegetables.
To learn more about the benefits of adding organic matter (compost) to your garden beds, this article from Treehugger has some really great info.
3 – Know the difference between full sun, part sun, and full shade and plant accordingly. There’s a saying in the gardening community that say, “there are no bad plants, only bad locations.” This can apply to many aspects of planting, but the amount of sun is a big one.
When I moved into my current home, there was a full row of hostas along the south side of my home. They were absolutely beautiful, until about July, when the sun would burn up all the leaves. The rest of the summer, they looked awful.
There’s no surprises there, as hostas are a part sun to shade loving plant and they were in a full sun location. I moved them to a shadier area and they’re doing great!
For reference:
- Full sun: plants need full sun, all day. A southern location is usually best for these plants and avoid shade at any time during the day.
- Partial shade: these plants will tolerate some shade but may need several hours of sun to perform their best, flower, or achieve the prettiest coloring.
- Partial sun: these plants are tolerant of shady locations but can tolerate a few hours of morning or filtered sunlight, such as a location under a tree.
- Full shade: plants labeled as full shade do not tolerate direct sunlight very well, and the leaves can burn in direct sunlight.
- Deep shade: plant these plants in the darkest, shadiest corner of your yard
4 – Weed often. Weeding is inevitable in gardening, and it can be a mundane, frustrating task. Fortunately, I’ve picked up a few tricks as a professional gardener (aka professional weeder) that have made the job much quicker and easier.
To make weeding easier:
- Tackle weeds more often, when they’re small. If the weed is small, the root is probably small, as well, and much easier to pull.
- Pull the entire root when weeding, to prevent the weed from growing back.
- Plan to weed the day after a good rain. The day after rain is the perfect time to weed because the ground is soft, and weed roots pull right up out of the soil. If there is no rain in the forecast, spray the area down with a hose the night before. Be sure to give it a good soaking, to allow the water to penetrate deep into the soil.
- Use a sharp shovel or weeding tool. When I’m weeding, I have a special shovel that’s narrow with a sharp tip. It easily slides into the soil, next to the taproot of a weed, and I can *pop* them right out of the ground with a twist of the shovel.
- Use a stirrup hoe to keep weeds under control before they become a problem.
- Use mulch to suppress weeds before they have a chance to grow
5 – Use mulch. Like I mentioned in the last tip, mulch can help suppress weeds before they have a chance to take over. It does this by blocking the light that weed seeds need to germinate and grow.
Mulch also helps retain moisture in the soil, keep roots cool in the heat of summer, and it makes the garden look “finished” and tidy. Mulch also provides nutrients over time, and is great paired with compost.
6 – Water correctly. Watering correctly vs. incorrectly can make it break your success in the garden. It’s so important, in fact, I wrote an entire post about it! Check out my full guide for how to water your garden (the link will open in a separate window) or read on below.
How to water correctly:
- Water deeply, instead of more often. In healthy plants, roots grow deep into the soil, searching for water. Deep roots give plants a stronger root system, which gives them more stability. Deep roots also help plants survive droughts, as they can reach deeper into the soil for water. It’s better to water plants deeply (water for a longer period of time) a couple times per week than to water lightly every day. The exception to this is potted plants, which tend to dry out faster. They should be watered deeply more frequently.
- Water at the base of the plant instead of watering the foliage. The roots of a plant are located underneath the foliage, in the ground. This is where we should be directing the water. Additionally, watering from above encourages diseases and should be avoided.
- Avoid watering in the heat of the day. The best time to water is early in the morning, or in the cool of the evening. This allows the water to penetrate the soil without being lost to evaporation. Plants are also less stressed at this time and can take up water and nutrients to prepare them for the hottest part of the day.
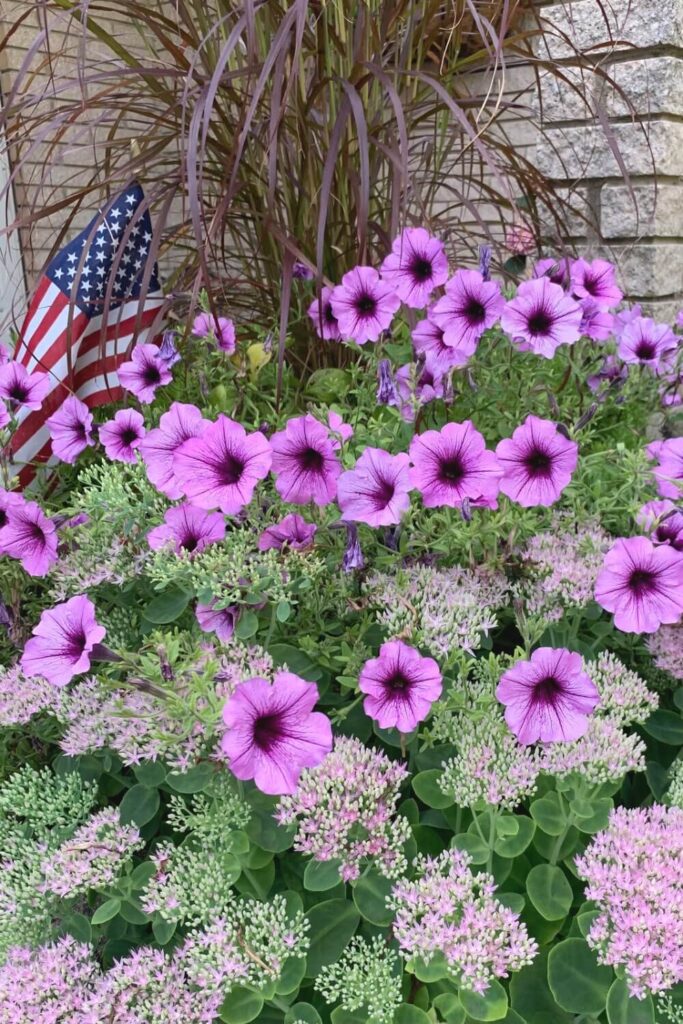
7 – Deadhead flowers for the most blooms. Many annual flowers, such as petunias, perform much better if old and dying blooms are regularly removed. The main goal of a flowering plant is to create seeds, and if blooms are removed, it will push out more blooms in an effort to create those seeds. Keep your flowers deadheaded for the most flower production (or better yet, buy self-cleaning flowers that do the deadheading for you! Proven Winners’ Supertunia collections do just that! You can find them at your local nursery, or Home Depot garden center)
8 – Improve the health of your soil. It’s a fact that healthy garden soil equals heathy plants. Having healthy soil is one of the most important things you can do for your garden. Healthy soil retains more water, allows nutrients to flow more freely through it, has a healthy amount of beneficial microorganisms, and reduces the need for fertilizers and pesticides. Healthy soil is one of the best ways you can improve plant growth. Find out more about how to improve soil quality here.
9 – Use fertilizer as an amendment, not as the only tool. This tip goes hand in hand with healthy soil and using compost. Although fertilizer has its place, it is not the single key to success. Think of fertilizer as “vitamins,” with compost being the “food.” You eat healthy food and take vitamins to fill in the gaps. Sometimes you need extra of some vitamins or minerals to address a deficiency. Fertilizers are the same. Use them as a tool in providing a healthy diet for your plants. You can find out more in my post about organic fertlizers for the flower and vegetable garden. You may also like my post about how to use Hollytone for acid-loving plants like hydrangeas, azaleas, rhododendrons and more.
10 – Divide perennials in spring or fall for best results. Dividing and moving perennials can cause stress to the plant and send it into what’s known as “transplant shock.” Although plants can recover from transplant shock, it’s better for the plant if you minimize the chances of it going into transplant shock to begin with. Both early spring and fall are cooler seasons with higher amounts of rain. These factors reduce the stress a plant will go through, and help it recover faster once it’s in its new home.
11 – You can plant all season long. Although spring and fall are the best time to divide and move perennials, and add new annuals perennials to the garden, planting can be done up to a few weeks before your first frost date. The trick is to reduce stress on the plant. Plus, being in the ground is almost always better for a plant than being cooped up in a nursery pot. When planting, choose a cool time of day and hopefully a cool break in the weather (heat will increase stress on the plant) and water really well. Water the plant well the night before planting, and again after getting it in the ground. Keep it well-watered until it’s established, which can take several weeks, as the roots settle in and begin to grow.
Other posts you may enjoy:
12 – Dig a hole just as deep and twice as wide as the nursery pot. When planting new perennials, it’s best to dig the hole just as deep as the pot that your perennial was in and twice as wide. Your new plant should be buried at the same depth it was in the pot, and digging a hole that same depth is all that’s needed. However, those plant roots need to spread out and grow and they typically grow outwardly, instead of straight down. By digging the hole twice as wide, you fluff up and loosen the soil around those roots. This makes it easier for root systems to work their way outward.
13 – It’s better to water deeply than more frequently. Those roots we talked about in #12? We want them to receive water all the way down to the very bottom of them. To do this, we need to water deeply, allowing the water to penetrate the soil all the way to the bottom of the roots. If all the roots receive water, we can water less often because the plant is well-hydrated, and the surrounding soil is holding extra water for later. If we water a plant quickly, even every day, only the top portion of roots and soil will receive water and the rest remain dry. The plant will struggle when the heat comes and can even die from stress. Check out my complete guide on how to water your plants here.
14 – Grow more native plants. Native plants are plants that have evolved with your local ecosystem. They have adapted to your local weather, pests, and diseases, and changing seasons. For this reason, they are often the most likely to do well in your yard. They are also a natural food for pollinators in your area and will nourish wildlife all the way up the food chain. To find a list of native plants in your area, visit this page from the National Wildlife Federation and type in your zip code. Native plants can be found at your local garden center, but are hard to find sometimes at big box garden centers.
15 – Bug sprays meant for “bad bugs” can harm the good ones, too. If you’re spraying your garden to treat a pest, keep in mind that you could be harming friendly visitors, too. A good example of this is neem oil, which is a popular treatment for all kinds of garden problems, from powdery mildew to aphids. Neem oil can also harm bees, poisoning them if they come into contact with it. For this reason, it’s best to use these types of products early in the morning or later in the evening, when bees and other beneficial insects aren’t as active.
16 – Keep a garden journal. Gardening journals are a great tool to have as the gardening seasons go by. They can provide you with a record of each season, and your successes, failures, any problems you dealt with and how you handled them, along with what you planted and where. It’s hard to remember every detail of every season, but with a gardening journal, you can easily look back and make comparisons through each season. They’re also a great place to keep your garden plans and ideas for the current season. I offer a free Garden Planning Starter Kit, which is a garden planner and workbook all in one. It walks you through designing your layout, choosing the right plants, and keeping up with caring for them throughout the season. You can grab it here.
17 – When putting in a new garden, location is everything!
Keep the location of the trees in mind and where they shade your yard. Be sure to track the sun and its path across the sky, to calculate the amount of direct sunlight or shade an area receives. Also be sure to choose a spot with easy access to water, so you’re not dragging a hose far away from the spigot.
The best place to put a garden is in an area that drains well after rain, receives 8+ hours of direct sun, and is near a water source.
18 – Right plants, right place. Just like you need to choose the right location to install a garden, your plants need to be in the right location and growing conditions, as well. The right amount of sunlight is crucial to a plant’s success, but also pay attention to how much water a plant needs, along with how much water various areas of your yard receive. Some plants love wet locations, while others thrive in drier soil. Wind, soil PH, clay vs sandy soil, etc can all affect a plant’s success, as well.
If you have a plant that is struggling no matter how well you care for it, it may simply need to be moved to a new location.
19 – Start small. A small garden is easier to manage and keep up with than a larger garden. When you’re just starting out, a smaller, easier to manage garden will bring you a much greater chance of success and enjoyment than a larger one.
A common mistake new gardeners make is jumping in with too much, too soon. This is an easy way to overwhelm you, leading to frustration and disappointment. Definitely not something you want when you’re just starting out!
It’s better to start small, with a few flowers or herbs, and learn as you go than to jump into a huge project. Each year, expand the garden a little more. Add a few new plants, or another raised bed. When you’ve conquered that, continue to expand a little each year, as you grow in your confidence, knowledge, and abilities.
Sometimes it helps to set some realistic gardening goals for the year. If you’d like help choosing goals that set you up for a successful season, I share the 10 simple gardening goals I recommend for every garden.
Once you have a sense of what you want from your garden, you may also find my Garden Planning for Beginners: How to Start a Garden guide helpful. It walks you through how to plan your garden step by step so you can start small and grow with confidence.
20 – Consider working with a garden coach. Garden coaches are a wealth of information on growing a successful garden, and an excellent resource in helping new gardeners achieve their gardening goals. They offer personalized, one on one attention and create a plan just for you, based on your knowledge, experience, and goals.
Working with a garden coach can help you grow as a gardener and gain knowledge much quicker. They take you by the hand and teach you everything you need to know to grow a beautiful and productive garden. You can learn more about what garden coaches do in this post, and book a coaching session with me here.
21 – Look into starting a garden for cheap or for free. Starting a garden doesn’t have to break the bank. There are several ways you can start a garden for cheap.
First, look into plant swaps or garden swaps in your area. Many garden clubs offer these in their local communities. At a swap, the garden plants are free for the taking. Some swaps may require you to bring a plant or two to donate for admittance. If so, it’s a great time to divide your perennials and offer up the extras to the swap!
Second, ask friends if they’re getting rid of any plants. Someone may be dividing their own perennials and tossing the excess, or they may be doing a garden redesign and parting with a few plants they no longer need. Those extras may fine a permanent place in your own garden.
Third, watch places like online garage sales or marketplaces. For the same reasons friends may be getting rid of plants, neighbors in your community may be looking to get rid of a few plants to the first taker. Sometimes the only requirement is that you bring your own shovel and dig them up yourself.
And finally, look into starting plants from seed. It’s far cheaper to start a plant from seed than to buy a mature version at the garden center. As long as you have a little patience, this could be a great way to get that garden going. Even better, look into your local libraries and see if they have seed libraries, full of free seed packets. Many offer this service for free to their patrons, as a way of providing gardens to those who may not have the funds to buy starter plants.
That’s it, 21 of my best gardening tips for beginners! These tips are a great start for your first garden, or to help you if you get stuck in your gardening journey. Hopefully, with these tips in mind, you’ll be well on your way to building the garden of your dreams!
You may also like these posts:
- Month by Month Gardening Guides & Printable Checklists
- How To Make Plants Grow Bigger and Faster
- Pros and Cons of Organic Fertilizers
- 15 Reasons To Start A Garden

Hi, I’m Liz! I’m a Master Gardener, Garden Coach, and Professional gardener. I’m also a mom of 4 who likes to putz around in my garden, growing food and flowers. You can read more about me here.
I started Learn To Grow Gardens as a resource for anyone looking to find more success in the garden. You can find gardening help, inspiration, and community through my Facebook Group or by joining my email list below.
I started Learn To Grow Gardens as a resource for anyone looking to find more success in the garden. You can find gardening help, inspiration, and community through my Facebook Group or by joining my email list below.