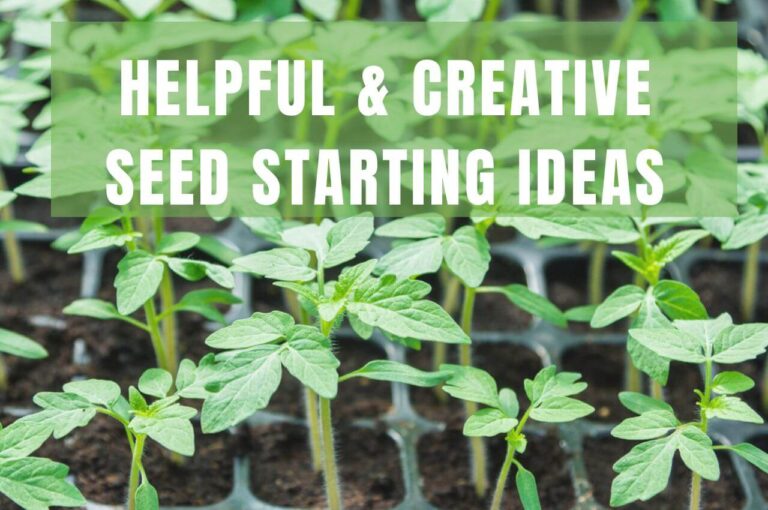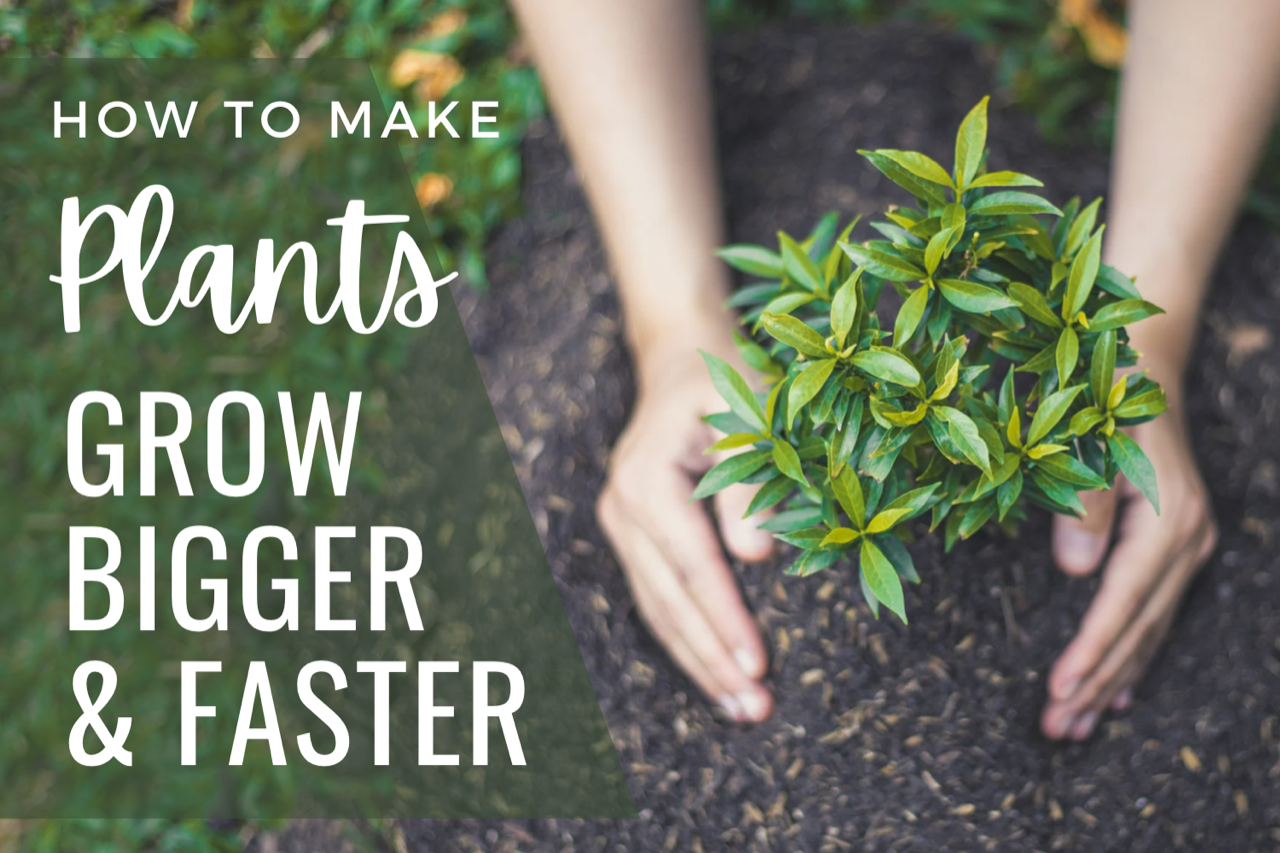
25 Easy Ways To Make Plants Grow Bigger and Faster: A How-To Guide To Growing Healthy, Happy Plants
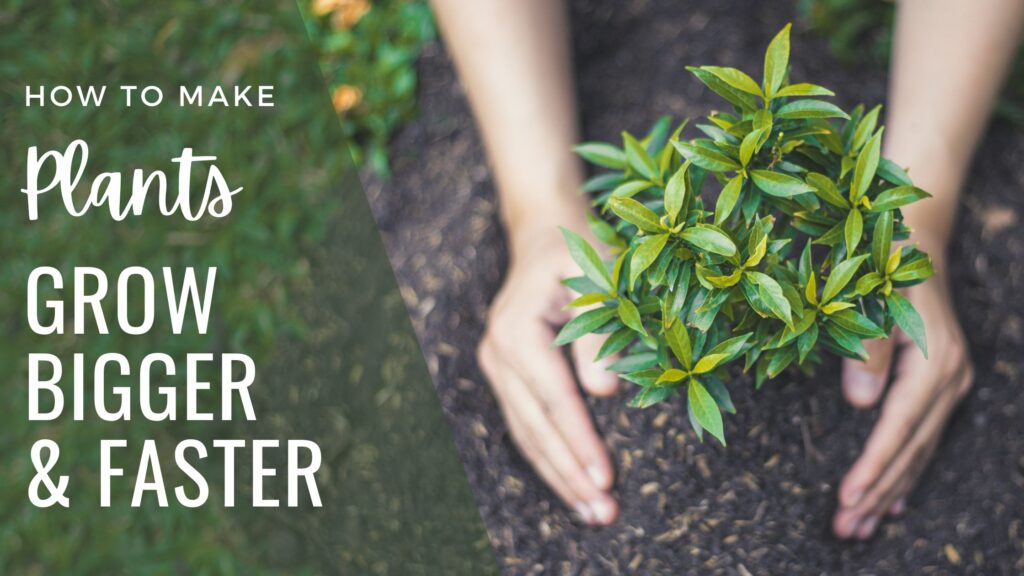
25 Easy Ways To Make Plants Grow Bigger and Faster: A How-To Guide to Growing Healthy, Happy Plants
Have you ever stared at a favorite plant or flower bed, and wondered why it wasn’t growing as fast as you had hoped? We’ve all been there! Fortunately, there are a several tricks to help with plant growth, and encourage plants to grow bigger and faster. I’m super excited to share them with you today, so you can start growing bigger plants faster than you ever have before!
The growth of plants is partly decided by it’s growth rate, but there are always things we can do to help them out. It’s a good idea to familiarize yourself with this list, and keep it somewhere handy to refer back to as needed. If you’d like a free, printable PDF version of this list to refer back to at a later time, you can find one here (downloading the PDF adds you to my email newsletter, where I share weekly gardening tips & tricks based on the current season. You can unsubscribe at any time.)
All plants have a few basic requirements for growth. This is true for both indoor plants and outdoor annuals, perennials, and shrubs.
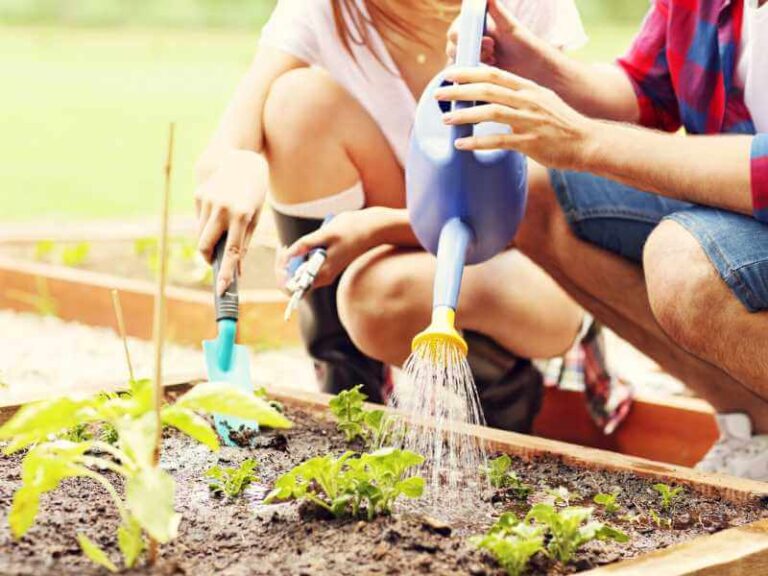
To keep plants alive, the most important thing you can do is give them the right mix of sunlight, water, and nutrients. If a plant receives those three things, in the right amounts, it will most likely survive. We don’t just want our plants to survive, though. We want them to thrive. We want healthy plants, with strong root systems and lots of new growth. In this post, I’m going to share with you 25 ways you can ensure that your plants are healthy, happy, and thriving.
This is not a hard and fast list of everything you need to do for your plants. It ranges from the basic needs of every plant, to a few odd tips and tricks to try, depending on specific needs for an individual plant’s growth. No two plants are the exactly the same, so each plant will have a different set of needs to grow to it’s full potential.
The best way to grow bigger, healthier plants is to research the type of plant you are caring for, it’s growth rate, and it’s individual needs. Then use this list as a guide to care for the variety of plants in your collection. This list will work for indoor plants and annuals, perennials and most shrubs.
I’ve broken the list of 25 ways to make your plants grow bigger and faster into 3 categories, to make it easier for you to navigate. The first list addresses the basic needs of plants, the second list goes deeper into creating the right environment for your plants, and the third and final list contains some easy DIY gardening tricks. I’ve learned these tricks from fellow Master Gardeners, or picked them up along the way in my own gardening journey.
Basic Needs of plants:
First up in our list is a deeper look at the basic needs of every plant (the right mix of sunlight, water, and nutrients. And air, but that need is usually well supplied 🙂 These are required for your plant to survive but getting them exactly right will help to create a healthier plant. Refer to this list of you notice your plant has browning or yellowing leaves, starts dropping it’s leaves, or looks to be in poor health.
1. Increase bright light. For most plants, the more light, the better. If your plants are starting to look leggy, or they haven’t put out new growth in a while, they may need their light levels adjusted. Move them to a sunnier spot and watch and wait. If they start receiving enough light, they will put out new growth in the form of new leaves or stems. (Some other signs of too little light are a plant reaching towards the light source, variegated leaves turning a solid color, or a brightly colored plant taking on dull coloring.) For some houseplants, our living space won’t provide enough natural light during the day. Light can be supplemented with indoor grow lights nearby, and pointing them in the direction of your light-loving plant.
2. Reduce direct sunlight. Although most plants like bright light, a lot of them can’t handle direct sunlight. There are also low light houseplants, such as the snake plant, that do well in low light conditions. In the garden, plants meant for shade should be kept out of direct sunlight. Direct, full sun can burn up sensitive leaves, causing browning and drying up of those leaves. If you’re noticing the leaves of your plants have brown spots, they may need a bright spot out of direct sunlight. Yellow leaves or a loss of coloring in the leaves can also be signs of too much direct light.
3. Water more often. This is a common struggle for plant owners. We get busy, we forget about our plant babies, and suddenly they’re not looking so hot. If the soil inside the pot has shrunken away from the edges, it’s beyond time to water. Soak the pot in a small pan of water instead of pouring it from the top, where it will run off the sides. Then set a reminder in your phone to check on your plant at least once per week. Stick your finger in the soil about an inch down, and if it feels dry, water it. For plants in the garden, drooping leaves is a good sign your plants aren’t getting enough water. You can also stick your finger in the dirt to check it. A general rule of thumb is 1 inch of rain per week, supplementing with hand watering if you receive less rain. Some plants will require more than this.
4. Water less often. Yes, sometimes we can give our plants too much water. In doing this, we can cause all kinds of problems, the most common being root rot. If the roots of your plants are constantly in damp soil, they will turn soft and start to rot. The plant will lost it’s ability to take up water and nutrients, and start to die. Again, use the finger test to check if your plant needs water. If the soil feels damp an inch down, check again in a few days. Some other signs of overwatering are yellowing leaves, brown leaves, mushy stems, or mold growing on the surface of the soil.
5. Provide essential nutrients. I once heard someone compare houseplants to people when describing the need to provide plants with nutrients. Sure, people can live on junk food with little nutritional value, but will we perform our best and be at our healthiest state? Plants require nutrients, too, and after awhile they use up what they need in the soil surrounding their roots. If those nutrients are not replaced, the plant will suffer. For houseplants, an application of a good liquid all-purpose fertilizer works just fine. Apply once a month during the growing season or refer to the specific care for each plant. For plants in the garden, a soil test is a great way to see the make up of nutrients in your soil. You can then adjust as necessary. Soil tests are often performed by your local university’s extension office. I get mine through Michigan State Extension. In addition to a soil test, you can provide compost and fertilizers in the garden, which are discussed next.
6. Apply compost. This is my number one recommendation in the garden. If you do nothing else beyond planting and watering, add compost to your soil. Compost is a powerhouse in the garden, and an easy way to add nutrients to your soil. It also creates lighter and fluffier soil, which allows plant roots to spread and grow, water and nutrients to travel through the soil, and feeds beneficial microorganisms. Worms love the organic matter found in compost, and will happily break it down for your plants to use. Apply compost around the dripline of your perennials and shrubs in both early spring and fall. If growing vegetables in raised beds, a layer of compost worked into the first couple of inches of soil will set your plants up for success from the very start. Compost is a must for creating healthy soil.
7. Apply a fertilizer. Think of fertilizer as a multivitamin for your plants. Compost is the equivalent of a good, healthy meal and fertilizers are the vitamins. You can get a multivitamin that covers the basics, known as an all-purpose fertilizer. Or, you can address specific deficiencies or needs with specific fertilizers. The can be purchased in granular form, or as liquid fertilizers. My personal favorite is the ESPOMA organic line. They have a great range of fertilizers for all kinds of needs, are available at most garden centers, and I have had great success using them in my garden.
Creating the right environment for plants
The next set of tips have to do with creating an environment for your plants that will allow them to settle in and get comfortable. Different types of plants require different environments (you wouldn’t want to try growing a drought-tolerant cactus next to a humidity-loving tropical plant, for example.) This section is to help you beyond the 3 basic needs of plants.
8. The right temperature. Plants get cold and hot, too, and have a temperature range in which they perform their best. A good rule of thumb is to refer to their growing zone, which is determined by the coldest temperature a plant can survive in. Heat loving houseplants should be kept away from drafty windows or exterior doors during winter. Plants that thrive in cooler environments should be kept away from dry, hot air (the easiest way to do this is to keep them out of direct sun.) Houseplants can be moved outside during the summer, but most should be moved indoors before the night temperature starts to drop in the fall.
9. The right humidity levels. Did you know that most houseplants are really just tropical plants that do well in an indoor environment? Those tropical environments tend to be a bit more humid than our dry indoor air. Because of this, houseplants appreciate an increase in humidity. You can provide this by resting their pot on a tray of pebbles and filling the tray with water, or by misting your plant with water a few times a week. For outdoor plants, too much humidity can cause issues with diseases, such as powdery mildew. Moving to a sunnier spot, where the nighttime dew burns off quicker, can help with this.
10. Move to a new location. Sometimes, the answer is simple…your plant just needs a new location. For houseplants, they may be getting too much direct sunlight, or not enough. Maybe they’re in a spot out of sight, and you forget to water them, or it’s too drafty for them. In the winter months, sunlight coming through windows is different than in the summer, and the amount of light a plant is getting may have changed. In the garden, a plant may be getting too much sun or not enough, as well. They could be too close to your sprinklers and receiving too much water, or they’re under a tree that blocks most of the rain and they’re always thirsty. Before you give up on a plant, move it to a new location and see how it’s doing in a few weeks.
11. Keep weeds at bay. Keeping your garden weeded is important beyond having a tidy garden. Weeds steal water and nutrients from your plants and crowd out their root systems. They can also grow big enough to shade your plants. By keeping the area around your plants weeded, you eliminate all that competition for their 3 basic needs.
12. Apply mulch. If compost is the rockstar of the garden, mulch is one of it’s BFF’s. Mulch brings many benefits to the garden, and plants do much better when a layer of mulch is applied. Mulch looks nice, but it also helps keep moisture in the soil and roots cool during hot weather. It also helps prevent weeds, encourages earthworm activity, and protects roots from freezing temperatures. Over time, as the mulch breaks down, it adds nutrients back into the soil.
13. Repot to a larger pot. This is true for houseplants, and outdoor potted plants. When the root system grows too big for the pot, the plant starts to suffer. Look for roots growing out of the bottom of the pot, or gently pull the plant out of it’s pot and look for roots that are starting to grow in a circle around the bottom. This is a big reason why houseplants seem to stop growing. Many times, it’s a sign that your plant is ready to move up a pot size. Once it settles into it’s new pot, the plant will begin to grow again.
14. Give it a light pruning. This one might seem odd, but it works with the right plants. When you prune a young plant, it can stimulate new growth near the cut. It can also be used to give plants a bushier look. For a quick guide to pruning, you can visit THIS LINK.
15. Test the soil pH and adjust as needed. Again, different plants have different needs and one of those needs is the right soil pH. Blueberries and azaleas, for example, love an acidic soil. Most vegetables prefer a neutral soil. You can find soil pH tests on Amazon, or in most home improvement stores or gardening centers. Adjusting your soil to the right pH will help your plant better take up nutrients and improve the color and look of the foliage.
DIY Gardening tricks to make your plants grow bigger and faster
The final group of tips and tricks to make your plants happier and healthier are simple DIY garden hacks. If you’re following the tips mentioned above (giving your plant the right amount of sunlight, water, and nutrients and tweaking the items in the second section to create the right environment) you shouldn’t *need* the following hacks. However, it’s always good to have a fun trick or two up our sleeve. These can be helpful in the right situation, so I’ve included them.
16. Add coffee grounds to your soil. Coffee grounds can be a great addition to your garden, for the right plants. They act as a partial compost, and add nitrogen to the soil after they break down. Fresh coffee grounds are also acidic, which is great for acid-loving plants like azaleas and blueberries. Lowering the pH of the soil around certain types of hydrangeas can turn the flowers from pink to blue, and fresh coffee grounds could do this over time. Used coffee grounds are a great addition to your compost, or sprinkled in the garden as a fertilizer.
17. Adding banana peels when planting perennials. I worked with a well-respected Master Gardener in my area, doing a full garden redesign in a client’s front yard. This Master Gardener friend swore by the addition of a little, 2-inch piece of banana peel in every single hole we put a plant into. Banana peels are full of vitamins and minerals, including potassium, which is very important for plant health. Adding it to the soil at planting time would eventually add those vitamins and minerals to the soil surrounding the root systems of each plant. (Important side note: there was a popular trend going around to make “compost tea” from banana peels for your houseplants. Please, please do not try this unless you want a house full of fungus gnats. Save the sweet, scented fruit stuff for burying in the outdoor garden!)
18. Used tea leaves as fertilizer. Used tea leaves are similar to using used coffee grounds. They add nitrogen to your soil, and act as compost as they break down. Discard any tea bags made from synthetic materials before adding them to your garden beds (paper tea bags are fine and will break down on their own.) They’re a great addition to a homemade compost pile, as well.
19. Water your plants with discarded aquarium water. The next time you clean out your fish tank, save that discarded water for your plants! The combination of uneaten food particles and fish waste can do wonders for your plants (the exception is water from a saltwater tank. Stick to water from a freshwater tank.) “Dirty” fish tank water is unhealthy for fish, but amazing for plants. It contains beneficial bacteria, along with nitrogen, potassium, and phosphorous, and trace nutrients. It’s basically fertilizer water, for free! Aquarium water can be used to water houseplants or poured into the soil surrounding outdoor plants. If using discarded fish tank water in the garden, be sure to use it on a day with no rain in the forecast, to keep all that goodness from washing away.
20. Use fish emulsion to feed your plants. Yep, fish again. Fish + plants = good stuff! Fish emulsion is an organic fertilizer method that gets special mention on this list. Fish emulsion is a byproduct of the fishing industry, created using discarded fish parts (gross, yes. And it’s a bit stinky. But trust me on this one!) It contains phosphorous, potassium and trace nutrients, but is especially high in nitrogen. It’s also easily absorbed by plants, making it an excellent fertilizer choice when your plants need a nitrogen boost. Fish fertilizer is a great for leafy greens, and can also be used to fertilize seedlings. Fish emulsion is a great fertilizer to aid in healthy plant development. Refer to the directions on the bottle for dilutions rates.
21. Make compost tea. Compost tea is made from compost and water, with the extra step of oxygenating the mixture using a fish tank aerator. The addition of oxygen in the water increases the absorption of nutrients by your plants. Compost tea is made by creating a “tea bag” of compost using a mesh bag, and soaking it in a 5-gallon bucket of water for 36 hours (tap water is fine, but let it sit out for 24 hours to allow the chlorine to dissipate.) The water is aerated during this time with the fish tank aerator. After the brewing period, the compost tea is ready to be used. It should be diluted, and can be applied directly to the soil to water your plants, and also to the leaves as a foliar fertilizer. You can find directions for making your own compost tea here.
22. Water your plants with carbonated water. Carbonated water is created by combining water and carbon dioxide under pressure, and then adding minerals. Plain carbonated water can contain phosphorous, potassium, hydrogen, oxygen, calcium, magnesium, carbon, sodium, and sulfur. These all provide your plants with a nutritional boost that is easily absorbed by the roots. Carbon, in particular, helps plants build leaves and stems, and be better able to withstand drought conditions. Be sure to use plain carbonated water, with no sweeteners or flavorings.
23. Add discarded green tea leaves to your soil. Green tea leaves are high in potassium and phosphorous, and can be tossed straight into the garden, where they will break down over time. You can also add them to the water you use to water your houseplants, giving them a little nutritional boost. Green tea has a neutral to alkaline pH, compared to black tea which is more acidic. This makes it a great regular addition to your garden or houseplant water. Just be sure to discard synthetic bags before use.
24. Save crushed eggshells and sprinkle in the soil. Dried, crushed eggshell powder is a great addition to homemade compost, and can be sprinkled directly into the garden for a calcium boost. Plants need calcium to build up healthy cell walls, and certain plants, like tomatoes, need extra calcium to grow properly (a calcium deficiency is a common cause for “blossom end rot” in tomatoes.) Although crushed eggshell powder isn’t a quick fix for adding calcium to the soil, it will break down over time. Sprinkling it around your plants a few times per season will slowly build up the calcium levels in your soil. Eggshell powder can be made by rinsing discarded eggshells, allowing them to dry completely, and running through a food processor until they reach a powdered consistency.
25. Use Epsom salts to improve flower blooms and help plants grow bushier. The use of Epsom salts in the garden has been around for far longer than I’ve been a gardener. It’s been handed down from one generation to the next, and for good reason. It works. Epsom salts are made from hydrated magnesium sulfate (a combination of magnesium and sulfur.) Magnesium helps plants take in nutrients, and produce chlorophyll, a necessary part of photosynthesis. It also improves a plant’s ability to produce flowers and fruit. Sulfur is required by all plants for health and vitality. To use Epsom salts in your garden, mix 2tbsp Epsom salt with a gallon of water. Water your plants with this mixture once a month. It can also be applied to the foliage as a foliar fertilizer. To use more often, apply 1tbsp to a gallon of water, and apply every 2 weeks.
I hope this list has been helpful to you!
As a reminder, you do not need to implement all 25 of these tips to have healthy, thriving plants. Start with the basics (the right amounts of water, sunlight, and nutrients) and then dive into the rest of the list if you notice a problem, or want to give your plants a little boost.
If you have any questions, leave a comment below and I’ll be happy to help!
If you’d like a printable PDF of this list to keep on hand, you can receive one by signing up for my email list. I send out regular garden advice and helpful tidbits, links to my latest blog posts, and seasonal reminders to stay on top of tasks in your garden. You can sign up here, and the PDF of this list will be on it’s way shortly!
Don’t miss these posts:
Seaweed vs. Kelp fertilizer: Benefits and differences
The best water for plants: A helpful guide
Free printable seed starting chart