Raised Garden Bed Tips: 30 Expert Tips for Better Results

Raised Garden Bed Tips: 30 Expert Tips for Better Results
Raised garden beds are a great way to grow vegetables and flowers, without a lot of the problems gardeners face when planting directly in the ground.
A few benefits of raised garden beds include:
- Fewer weeds. Because you’re starting with fresh, weed free soil, you’ll have fewer weeds to deal with compared to in-ground gardens.
- Great soil from the very start. This is a great thing for gardeners with rocky or heavy clay soils, or any kind of poor soil.
- Easier to work in because of their height, compared to ground level gardens. This makes them a great option for gardeners with mobility issues or those wanting to avoid back strain while gardening
You can read more about the perks of a raised bed garden here, where I’ve compiled a list of 21 benefits of raised garden beds.
I personally love raised bed gardening and have a dozen of them in my own backyard, growing everything from raspberries to cucumbers to marigolds. I highly recommend them to my coaching clients, because the chances of successful gardening are so much higher when growing in raised garden beds vs in-ground gardens.
Although your chances of success are much higher when growing in a raised garden bed, there are a few things to keep in mind to increase those chances. For that reason, I’ve put together a list of 30 tips for raised bed vegetable gardening and flower gardening.
This list of raised bed gardening tips includes everything from how to prepare soil for raised bed vegetable garden, what to put in a raised garden bed, and things to keep in mind when building and choosing a location for your raised beds.
Let’s get started!
30 tips for growing in raised bed gardens
- Choose the right location. Location is everything in gardening. When choosing a spot for raised beds, keep in mind the location of the sun throughout the year. Most flower and vegetable gardens need full sun, so choose a location that will receive at least 8 hours of sun during the growing season. You’ll also want to build them close to a water source, so you’re not dragging a hose over a long distance every time you need to water.
- Build a quality bed that will last. The materials you make your bed from will determine the life expectancy of your bed. For example, pine will rot and break down much faster than cedar, and 2 inch cedar boards will hold on longer than 1 inch. Stone will last much longer than cedar, and corrugated metal should last you 30-60 years. Note – Be sure to use untreated wood when building your beds, to prevent chemiclas leaching into the soil
- Choose the right size. Size matters, when it comes to raised beds. It’s recommended to make your beds no more than 4 feet wide. The typical reach of an arm is about 2 feet, so a 4 foot bed will allow you to comfortable reach the center from either side. 8 feet is a good length for a bed, and many boards are sold in an 8 foot length. Any longer, and your bed may start to bow in the middle over time.
- Consider the height. One of the benefits to raised beds is the height, which makes it easier to reach things when working in the garden. If you struggle with bending over, a 3 foot high bed may be best for you. If you’re just looking for better soil than your native soil, anything 12” or higher should suffice. For plants with deep root systems, it’s a good idea to build a bed at least 18″ deep.
- Prepare the soil. My favorite benefit of raised beds is the ability to start with perfect garden soil from the start. I even have a blog post with my go to raised bed soil recipe. After your first growing season, add a 2-inch layer of compost to the soil surface of your beds each fall. The organic material will break down over winter and continue feeding your soil, keeping your beds full of that light, fluffy, nutrient-rich soil you want to grow in.
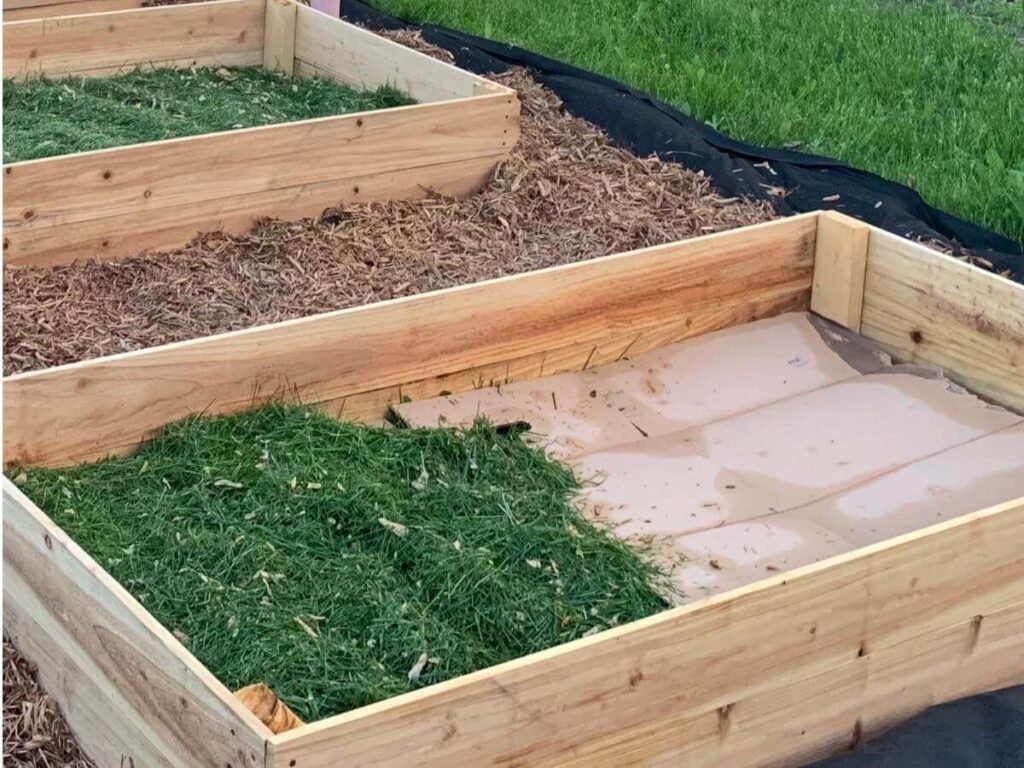
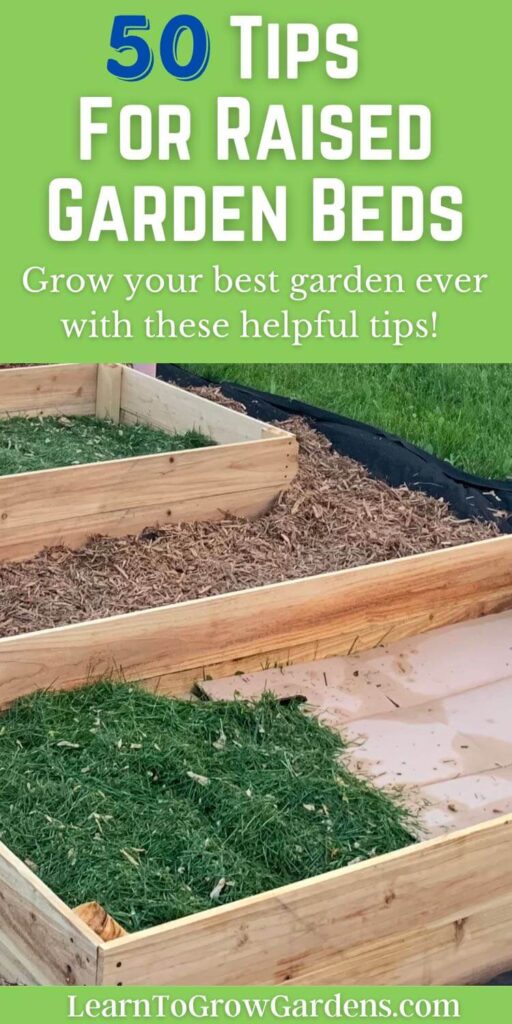
6. Use a layer of cardboard on the bottom of the bed to prevent weeds and grass. When installing new raised beds over grass, you don’t need to remove the grass before installing the raised bed. I have installed over a dozen raised beds using the cardboard method, and have yet to have the grass grow back inside the bed. It’s such an amazing time saver! To use the cardboard method, start by mowing the grass on the shortest lawn mower setting. Then, place the bed where you want it and start covering the grass with cardboard. Be sure to cover every bit of grass, overlapping the pieces of cardboard and tucking them under the sides of the bed. When you’re done, add your raised bed soil. This method works for beds 12” or taller. ( We used landscape fabric in the pathways and covered them with a 4-inch layer of woodchips)
7. Fill your beds cheaply. If building beds 12″ or taller, an easy way to save money on raised garden bed soil is to line the bottom of your bed with compostable materials, such as grass clippings. You then add good soil on top, and the materials on the bottom will break down over time. You can find a list of items to cheaply line raised beds with in this post, along with the best way to utilize this method.
8. Choose the right plants. Not every plant is the right plant for a raised garden bed. Some plants, like pumpkins, grow far to large to bother with them starting in a raised bed. They’re better off started directly in the ground, and allowed to spread out. Other plants, such as asparagus, can take up to 3 years to start producing. That’s a long time to set aside an entire bed that’s not producing any food. It’s better to stick to smaller fruits and vegetables, that produce a harvest in the current season.
9. Water regularly. One benefit of raised beds is that they drain faster than in-ground beds, preventing damp soil that leads to root rot. Unfortunately, one of the downsides of good drainage means they dry out faster. Water regularly to ensure your plants receive enough moisture, especially during dry spells.
10. Provide proper drainage. Despite being better with drainage, occasionally raised beds can hold onto water. This can happen if the soil is the wrong consistency. To improve the soil in your raised beds, add compost to the top layer regularly and be sure you’re starting with a good raised bed soil mix.
11. Use mulch. Mulch not only helps prevent weeds, it helps retain moisture and prevent the soil from drying out. A 1-2 inch layer of wood chips on top of your beds will hold moisture in and help keep your plants happy.
12. Use drip irrigation. Drip irrigation is easy to install in raised beds, and is a much more efficient way of watering. A drip irrigation system provides water right at the base of plants. This helps reduce water loss due to evaporation. It also helps prevent the spread of disease, which can happen when plants are watered from above. A great alternative to drip lines is the use of a soaker hose.
13. Use trellises and supports. Some plants, like the ever-popular tomato, have a natural sprawling habit. When you provide these plants with a trellis, you can save a lot of room in the garden. A tomato, for example, can take up 4+ square feet of space if left alone. If you trellis it, you can cut the spacing it takes in half or more. Trellises and supports also help keep fruits off the ground, where they can pick up pests and disease.
14. Add compost every fall. Compost is food for the garden, and after a season of growing, the soil is depleted of nutrients. A 2-inch layer of compost on top of every bed will help replenish what your plants took from the soil, and will also help feed beneficial microorganisms. Microorganisms break those nutrients down into forms easily available to plant roots.
15. Rotate your crops. Different vegetable plants need different nutrients for growth. They’re also susceptible to different pests and diseases. By rotating crops, you can help plants out by providing a fresh supply of nutrients and avoiding areas that might be full of pests and disease from a previous year
16. Utilize companion planting. Companion planting, in its simplest terms, is planting together plants that do well together. For example, marigolds discourage many pests in the garden, such as cabbage moths. I plant marigolds with all my brassicas. Basil is said to improve the flavor of tomatoes, and fight tomato hornworms. I plant basil with my tomatoes. For more information on companion planting, you can download this handy chart.
17. Fertilize regularly. Even if you’re regularly adding compost to your beds, your plants can benefit from an organic fertilizers. I like to use Espoma Organic’s Biotone Starter Fertilizer when planting or transplanting almost any new plant. I also love the rest of the Espoma line to meet the individual needs of my plants. Hollytone is great for feeding acid-living plants like blueberries, hydrangeas and azaleas every spring. For vegetables, I use Gardentone and Tomatotone. Follow the directions on the back of the package for best results.
18. Consider row covers. Row covers, or low tunnels, are made from hoops with garden fleece or netting draped across the top. Mesh netting over hoops can help keep pests, such as cabbage moths or potato beetles, away from your plants. I also love to use garden fleece and 6mm clear plastic sheeting to create mini greenhouses and extend my harvest season. I can get almost 2 extra months in my growing season with row covers!
19. Build a cold frame – Cold frames are similar to row covers, in that they extend your growing season and protect plants from cold and frost. However, cold frames are a permanent structure and must be stored when not in use. However, they offer much better protection from the cold compared to row covers. Gardeners have grown crops straight through the winter months using a cold frame mini greenhouse.

20. Start with transplants. Although you can start many plants from seed, starting with transplant gives you a head start on the growing season. For example, if I plant tomatoes from seed directly in my garden, I won’t be harvesting tomatoes until the end of August or early September. If I purchase transplants, or start my own tomato seedlings indoors in February, I can harvest tomatoes much earlier (typically by July.)
21. Prune regularly. Pruning regularly helps keep plants at a manageable size, which becomes a necessity in a limited space like a raised bed. It also help control diseases, by improving airflow and removing any problem leaves as soon as they appear.
22. Harvest regularly. The more you harvest, the more your plants will produce. A plant’s ultimate goal is to reproduce, and vegetables do this by producing seeds. If you harvest regularly, your vegetables will continually put out new fruit in an effort to produce seeds. This means more harvests for you!
23. Don’t overcrowd. Overcrowding in the garden can lead to a higher incediebce of pests and disease. When plants are crowded, the airflow around them is reduced. This keeps leaves wet longer, which is one way diseases can spread. Overcrowding also allows pests to run rampant and take over multiple plants in a short timeframe. If you struggle with pests and diseases on a regular basis, it may help to not overcrowd them. Additionally, plants compete for nutrients and moisture in the soil. The farther apart they are, the more nutrients and moisture there is to go around.
24. Use organic pest control. There are many organic pest control methods that are quite effective. For example, neem oil helps control powdery mildew and aphids, which are both common garden problems. BT spray (BT is short for Bacillus Thuringiensis) is a bacteria that kills soft bodied insects, such as cabbage moths. You can find out more about organic pest control methods here.
25. Add support for root crops. Root vegetables, or those with deep root systems, need light, fluffy soil to help them push out new growth. Carrots, for example, can fork or have limited growth if the soil is hard and compacted, such as in clay soil. Before planting root vegetables, it helps to fluff up the soil with a fork. If it’s still heavy, adding some sand or vermiculite can help lighten it up.
26. Try vertical gardening. Vertical gardening is gardening with the intent on trellising as many vegetables as possible. This reduces the space they take up, and frees up space for other plants. You can learn more about vertical gardening here.
27. Start small. It’s easy to get overwhelmed in the garden. One way to avoid this is to start small. Start with one or two beds, and when you’ve mastered caring for them over a season, add another one or two beds. Just like with most things in life, it’s best to start small and add a little bit as you conquer what you have.
28. Succession Planting – Succession planting in raised beds is a great way to maximize your garden’s productivity. By planting a new crop as soon as an old crop is harvested, you ensure a continuous supply of fresh vegetables throughout the growing season. This not only maximizes your harvests, but it’s an efficient use of space in each bed. Succession planting is especially good for growing in a small space. Note – If you’d like more info on succession planting, along with a handy cheat sheet, be sure to check out this helpful guide on how to use succession planting to maximize your garden space.
29. Plant a cover crop. Cover crops are a great option for increasing the nutrients in a bed that would otherwise be empty, while also suppressing weed seeds. In the fall, after summer crops have been harvested, a cover crop of clover, rye, peas or oats can be sown. These crops improve the fertility of your soil, while introducing organic matter. In early spring, the soil can be tilled and the cover crop will break down. If practicing no-till gardening, the cover crop can be hand pulled before planting.
30. Build a raised bed cover. Raised bed covers offer protection from pests, such as rabbits, groundhogs and deer. Not to be confused with the row covers mentioned above, raised bed covers are strictly for keeping out larger pests without needing to build a fence. I built mine from pvc pipe, garden netting, and zip ties.
Be sure to check out these other posts, for more raised garden bed tips:
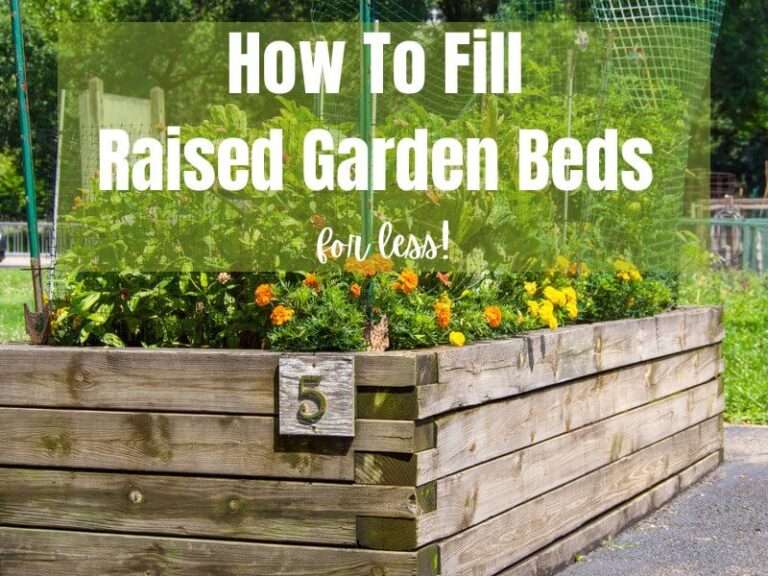
- How To Fill Raised Garden Beds Cheap
- Raised Bed Soil Mix Recipe
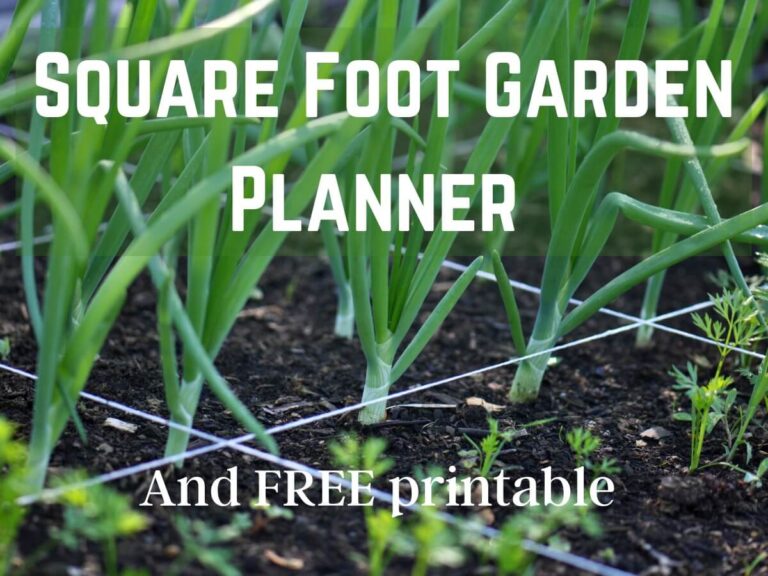
- Square Foot Garden Planner
- 21 Benefits of Growing in Raised Garden Beds
There you have it, 30 tips for raised-bed gardening! If you have any questions, or additional tips to add, share them with us in the comments!


Hi, I’m Liz! I’m a Master Gardener, Garden Coach, and Professional gardener. I’m also a mom of 4 who likes to putz around in my garden, growing food and flowers. You can read more about me here.
I started Learn To Grow Gardens as a resource for anyone looking to find more success in the garden. You can find gardening help, inspiration, and community through my Facebook Group or by joining my email list below.