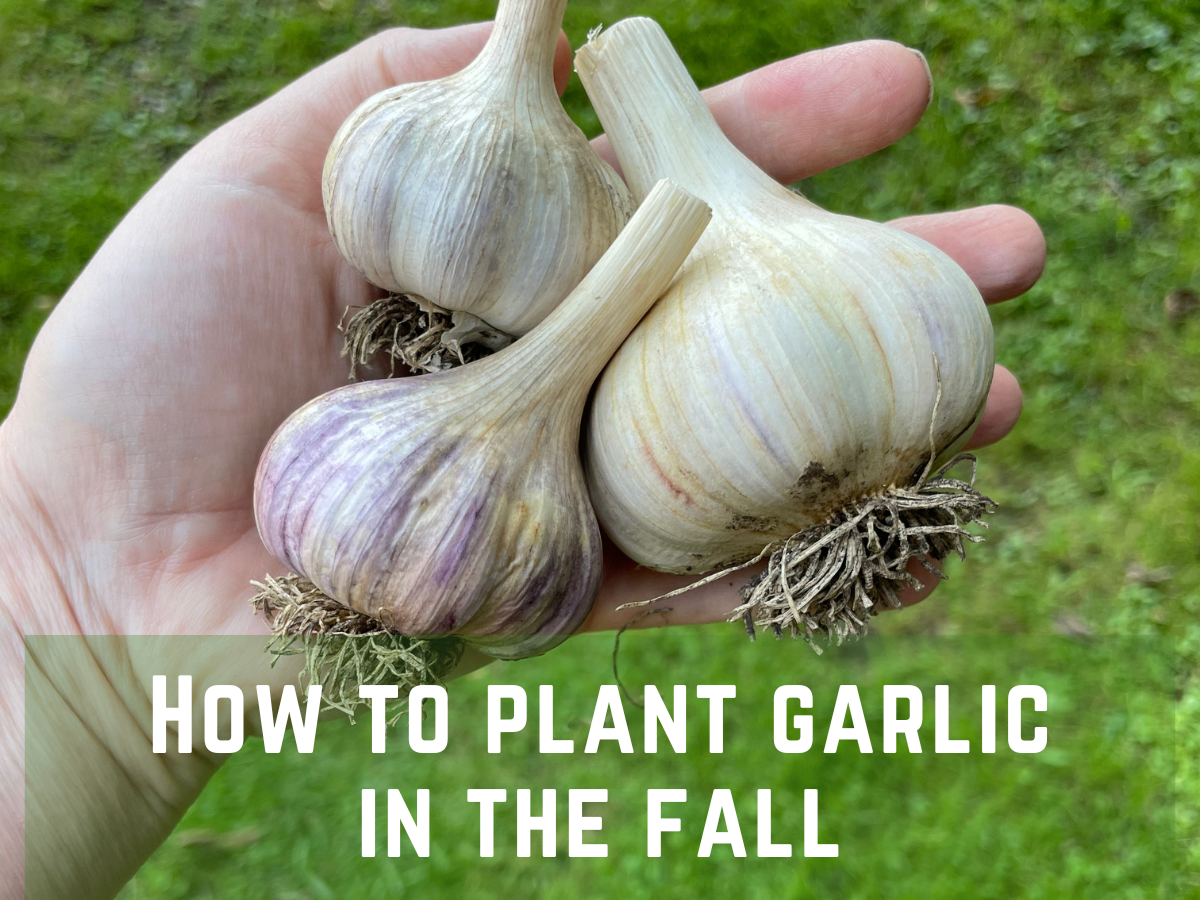
How To Plant Garlic in the Fall: A Complete Guide
How To Plant Garlic in the Fall

There’s something deeply satisfying about planting garlic in the fall. Maybe it’s the idea of tucking one final crop into the soil before the garden begins it’s winter slumber. Garlic is one of those crops that quietly does its work beneath the surface all winter long, then rewards you in the summer with big, full bulbs that taste far better than anything you can buy in a store.
Side note – I spent the past few years as the head vegetable gardener on a large estate. The first year I harvested garlic for the family’s chef, he was absolutely blown away by the flavor of homegrown garlic. He couldn’t get enough! The next year I planted 300 cloves and crossed my fingers I’d have a decent amount left for the root cellar when he grew tired of it. It’s that good!
Planting garlic in the fall gives it the time it needs to settle in and grow roots before the ground freezes and rest until spring. When the weather warms, it takes off fast, strong, and ready for the season ahead.
In this post, I’ll walk you through how to plant garlic step by step. When to plant, how deep to go, and what to expect through the seasons, so you can feel confident planting your own this fall.
Why Garlic Is the Perfect Crop for Beginner Gardeners
If you’re just getting started with gardening, garlic is one of the easiest and most rewarding crops you can grow. It doesn’t need much space, isn’t fussy about attention, and gives you months of satisfaction as you watch those green shoots emerge in early spring.
One of my favorite beginner gardening tips is to start with crops that do most of the work for you, and garlic fits that perfectly. Once you plant it in the fall, it quietly grows roots all winter long beneath the soil. By spring, it’s ready to take off and grow into strong, healthy plants with very little maintenance required.
Another reason garlic is great for gardening for beginners is that it’s forgiving. Even if you plant the cloves a little too deep, or your soil isn’t perfect, garlic will usually still grow well. Plus, it teaches you some of the basic skills every gardener needs – spacing, soil prep, watering, and patience.
So if you’ve ever wanted to start a vegetable garden but didn’t know where to begin, plant garlic this fall. You’ll gain confidence, learn valuable gardening habits, and end up with homegrown garlic you can actually use in your kitchen all year long.

Planting Garlic in Michigan (and northern, colder climates)
Here in Michigan, garlic is planted in the fall, usually sometime between mid-October and early November. The goal is to get it in the ground about 4–6 weeks before the soil freezes. That gives the cloves time to grow roots without sending up green shoots that could be damaged by winter cold.
Garlic prefers cool, loose, well-drained soil with plenty of organic matter mixed in. If your soil tends to be heavy or compacted, add compost before planting to improve drainage. Choose a sunny spot. Garlic needs at least 6 hours of sunlight a day to grow well.
Once planted, cover the bed with 4–6 inches of mulch. Straw, shredded leaves, or even pine needles work well. The mulch helps regulate soil temperature, protects the cloves from frost heaving, and keeps weeds down once spring arrives.
When the snow melts and the days warm up, you’ll see the first green shoots appear, a sign that your garlic made it through winter and is ready for the growing season ahead.
Choosing the Right Type of Garlic
Before you start planting, it helps to know that not all garlic is the same. There are two main types, hardneck and softneck, and each has its own advantages.
Hardneck Garlic
Hardneck garlic is the best choice for cold climates like Michigan. It produces fewer, larger cloves and grows a stiff central stalk called a scape. The scapes are edible and have a mild, fresh garlic flavor that’s great in stir-fries or pesto. Hardneck varieties tend to have a richer, more complex flavor, but they don’t store quite as long as softneck types.
A few popular varieties include Music, German White, and Chesnok Red.
- Music is bold and strong and stores better than a lot of hardneck varieties
- Chesnok Red has a sweet, rich flavor that’s great for roasting
- German White has a strong, rich, full garlic flavor when raw that mellows when cooked.
Softneck Garlic
Softneck garlic is the kind you usually find at the grocery store. It doesn’t form scapes and has smaller cloves, but it stores longer, often six months or more. Softneck varieties do best in warmer climates, though you can still grow them in cooler areas if you give them good protection through winter.
A few popular varieties include Inchelium Red, Silverskin, and California Early.
- Inchelium Red has a mild, well-balanced flavor that’s ideal for everyday cooking and roasts beautifully.
- Silverskin is one of the longest-storing garlics you can grow, often lasting up to a year when cured and stored properly.
- California Early is dependable and easy to grow, with a classic, medium garlic flavor and bulbs that store well for several months.
When shopping, look for seed garlic rather than grocery store bulbs. Seed garlic is sold specifically for planting. It’s disease-free, adapted for growing conditions, and hasn’t been treated to prevent sprouting. You can find it at local nurseries, garden centers, farmers markets, or reputable online suppliers in late summer and early fall.
If you’re new to growing garlic, start with one or two hardneck varieties and see which you like best. You can always save a few bulbs from your harvest to plant again next year.
How to Plant Garlic in the Fall
Planting garlic cloves starts with choosing healthy, firm bulbs. Avoid anything soft or moldy. You can plant grocery store garlic in a pinch, but it’s better to use seed garlic from a nursery or farm. It hasn’t been treated to prevent sprouting, and it’s usually better suited to your local climate.
Separate the cloves from the bulb, but leave the papery skin on each one. That thin layer helps protect them from rot and disease once they’re in the ground.
Plant each clove about two inches deep, with the pointed end facing up. Space them four to six inches apart in rows that are roughly a foot apart. Garlic likes room to grow, and giving each clove space helps the bulbs develop evenly.

Once you’ve planted all your cloves, cover the area with soil and add a thick layer of mulch. Four to six inches is ideal. Straw, shredded leaves, or pine needles all work well. The mulch protects the cloves over winter, keeps the soil temperature steady, and helps prevent weeds in spring.
That’s really all there is to it. Garlic doesn’t need much attention once it’s planted. Just a little patience and trust that it’s doing its work quietly beneath the soil.
How to Grow Garlic in Raised Beds
Garlic grows beautifully in raised beds. In fact, raised beds often produce larger bulbs and healthier plants because the soil drains well and warms up faster in spring.
When planting in a raised bed, treat it the same as an in-ground garden. Loose, rich soil and plenty of sunlight make all the difference. Garlic prefers soil that’s well-aerated, so fill your bed with a mix of garden soil, compost, and a little organic fertilizer to give the cloves a strong start.
Space the cloves four to six inches apart and plant them about two inches deep with the pointed end up. Because raised beds drain more quickly, keep an eye on moisture, especially in spring and early summer while bulbs are forming. Aim for consistent, even watering without letting the soil stay soggy.
A thick layer of mulch (straw, shredded leaves, or pine needles) helps hold moisture, regulate temperature, and protect the cloves through winter. Once planted and mulched, garlic in raised beds is easy to care for and a reliable producer year after year.
How to Plant Garlic Cloves in Pots (Container Growing)
If you don’t have space for a garden bed, garlic grows surprisingly well in containers. The key is giving it enough room for the bulbs to form. Choose a pot that’s at least 10–12 inches deep with good drainage holes and make sure it’s in a sunny spot.
Fill your pot with a high-quality potting mix and mix in compost or an organic fertilizer before planting. Just like in the ground, place each clove about two inches deep, pointed side up, and space them a few inches apart.
As the weather cools, move the pot somewhere protected, like against the side of your house, inside an unheated garage, or in a sheltered corner where it won’t be exposed to harsh wind. In especially cold climates, you can wrap the pot in burlap or add extra mulch to insulate it.
In spring, once the risk of hard frost has passed, move your pot back into full sun and water it regularly. Container garlic dries out faster than in-ground garlic, so check the soil often and keep it evenly moist.
With good light and consistent watering, your container-grown garlic will reward you with the same flavorful harvest as a garden bed, which is perfect for small spaces, patios, or anyone just getting started.

How Long Does Garlic Take to Grow?
Garlic takes its time, but it’s worth the wait. When you plant in the fall, you’ll harvest about eight to nine months later, usually in mid to late summer.
After planting, not much happens above ground until spring. The cloves spend winter developing roots, then start sending up green shoots as the weather warms. By early summer, you’ll see tall, sturdy stalks that look a bit like onions.
In June, hardneck varieties send up flower stalks called scapes. These curly green stems should be cut off so the plant can focus its energy on forming large bulbs instead of flowers. (Don’t toss them, though! Garlic scapes are delicious sautéed or made into pesto.)
You’ll know your garlic is ready to harvest when the lower leaves start to turn yellow and dry, but the top few are still green. Gently loosen the soil and pull the bulbs, then let them cure in a dry, airy spot for a couple of weeks before storing.
Garlic is one of those crops that asks for a little patience but gives a big reward! Flavorful, long-lasting bulbs that you can use for months and even save to plant again next fall.
How to Grow Big Garlic Bulbs
If you’ve ever wondered how to grow big garlic, it all comes down to giving your plants the right conditions from the start. Garlic is simple to grow, but a few small steps make a big difference in the size and quality of your bulbs.
- Start with quality seed garlic – Skip the grocery store bulbs and buy certified seed garlic from a local grower or garden center. Seed garlic is disease-free, adapted to your climate, and produces larger, healthier cloves.
- Plant at the right time – For big bulbs, timing matters. Planting garlic in fall gives cloves enough time to establish strong roots before winter. In most northern climates, that means about 4–6 weeks before the ground freezes.
- Choose rich, loose soil – Garlic needs loose, well-draining soil to expand properly. Add compost or aged manure before planting to boost nutrients and improve soil texture. Avoid compacted or soggy soil, which can stunt bulb growth.
- Feed throughout the season – Garlic is a heavy feeder. Mix organic fertilizer or compost into the soil at planting time, then side-dress again in early spring when green shoots start growing. A little extra nitrogen early on helps develop large, healthy bulbs.
- Keep it consistently watered – Big bulbs form best when the soil stays evenly moist, especially in late spring and early summer. Aim for deep, consistent watering, but don’t let the soil stay soggy.
- Mulch well – Mulch helps regulate soil temperature, hold moisture, and prevent weeds from competing for nutrients. It also protects your cloves through winter and helps them grow stronger in spring.
- Give each plant space – Crowded cloves compete for nutrients and room to grow. Plant cloves about 4–6 inches apart and in rows roughly a foot apart to give bulbs room to expand.
With these simple steps, you’ll have everything you need to grow big, full garlic bulbs that store well and taste incredible. Even if you’re new to gardening, these beginner gardening tips will help you get the most out of every clove you plant.
Tips for Growing Healthy Garlic
Garlic doesn’t ask for much, but a few simple habits can make a big difference in how well it grows.
- Feed the soil – Before planting, mix compost and bonemeal into the planting hole. Garlic is a heavy feeder and benefits from nutrient-rich ground. In early spring, give it a light boost with a balanced fertilizer or a top dressing of compost to support strong growth.
- Keep it evenly moist – Garlic likes consistent moisture, especially in spring and early summer while the bulbs are forming. Aim to water deeply once or twice a week if it doesn’t rain. Avoid overwatering…soggy soil can cause bulbs to rot.
- Mulch well – A thick layer of mulch helps regulate soil temperature, conserve moisture, and suppress weeds. In cold climates, it also protects the bulbs from freezing and thawing through winter.
- Rotate your crops – Avoid planting garlic (or other alliums like onions or leeks) in the same spot two years in a row. Rotating crops helps prevent disease and pest buildup in the soil.
- Watch for weeds – Garlic doesn’t compete well with weeds, especially in spring when growth takes off. Keep the bed weeded so your plants have full access to nutrients and light.
A little care goes a long way. Once established, garlic is tough, reliable, and low maintenance. One of the easiest crops to add to your planting routine!
Final Thoughts on Planting Garlic in the Fall
Planting garlic in the fall is one of those small garden tasks that pays off in a big way. With just a little effort now, you’ll be harvesting strong, flavorful bulbs next summer that will last you well into the year.
Whether you’re tucking cloves into a garden bed or growing them in pots on the patio, the process is simple and dependable. Garlic practically takes care of itself once it’s planted. It just needs time, sunlight, and a little patience.
If you’ve never grown garlic before, give it a try this fall! It’s an easy win for any gardener and a fun way to end the growing season on a hopeful note.
Happy growing! 🌱
You May Also Like
If you’re planning your fall garden, here are a few posts you might enjoy next:
- October Garden Tasks: What to Do in the Garden This Month
- Quick-Growing Vegetables to Plant in the Fall
- What to Plant for an Incredible Fall Garden
- Fall Seed Starting Guide: What to Plant and When
- The Ultimate Guide to Fall Gardening

Hi, I’m Liz! I’m a Master Gardener, Garden Coach, and Professional gardener. I’m also a mom of 4 who likes to putz around in my garden, growing food and flowers. You can read more about me here.
I started Learn To Grow Gardens as a resource for anyone looking to find more success in the garden. You can find gardening help, inspiration, and community through my Facebook Group or by joining my email list below.